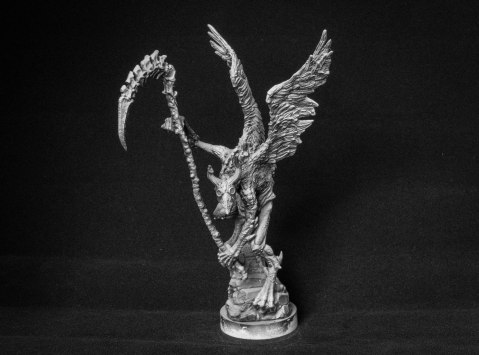
Work in progress – Plague angel


Only got primed and pre-shaded, but wanted to post this for motivation.
Work in progress – Plague angel
Only got primed and pre-shaded, but wanted to post this for motivation.
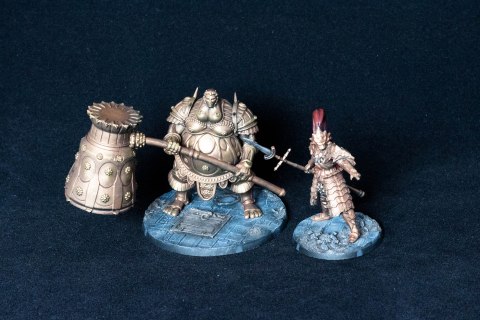
Here are some Dark Souls board game miniatures I painted recently.


Bases were created using modeling plaster with Basius 2 stamps.
The painting was completed using airbrush to pre-shade and base coat, washes then stippling and dry-brushing. Very basic and quick to do.

Got a new lightbox, just a cheap £20 set from Ebay, and took some photos to try it out.


Not happy with the black background fabric, will probably go back to using poster paper, as it has less texture and won’t pick up fluff.
I used too much light too close to the figures, had to play with filters on Google Photo to stop them from looking completely over exposed.


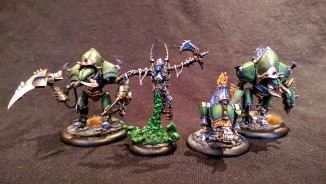
Contents of the Warmachine MK3 Cryx battle box and bonus Erebus.


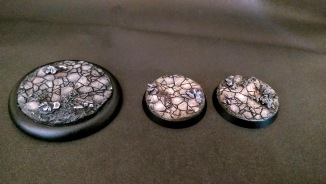
Ages ago I got the Basius 2 kickerstarter and got two terrain stamp pads and I’ve finally got round to using it for some model bases. Writing this as a tutorial for anyone either using a similar terrain stamp or making their own.
I used modeling clay, which has a crumbly texture and worked well to simulate natural rock. Applying the stamp twice caused a faint trace of the first stamp with finer cracks on the surface.
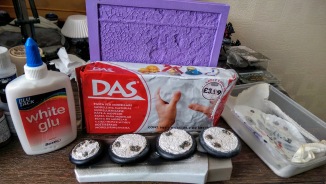
Glue a blob of your clay/putty on the base, spread it roughly over the surface and apply the stamp. Take it off and using glue apply some sand/gravel to add some variety to surface (large then small). Leave to dry and after dry apply some watered down PVA to the sand/gravel to fix it in place.
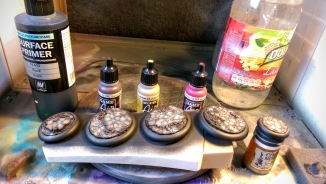
Prime black and paint dark brown. Paint the top of the cracked earth a sand colour, adding some variety with a little dark red. I used an airbrush to do this quickly, but you could wet blend the colours in by hand.
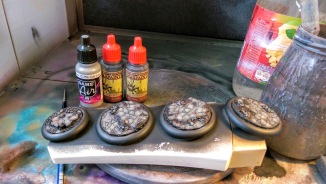
Paint the larger gravel a light grey then apply washes to the rocks/sand/shaded areas using a mix of black and dark brown. Drybrush the cracked earth a mix of sand/white and the rocks grey/white, to leave a cold/warm contrast and give an edge highlight to the cracks.
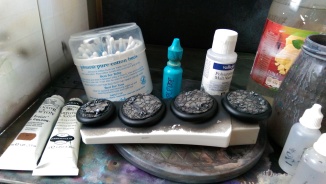
Shade the cracks, which I did by an oil wash (applying a gloss varnish first to protect the surface). Apply a matt varnish to the base to make it look extra dry/dusty, and clean up the rim with a mix of black and gloss varnish to contrast with the matt base. Apply some extra flair like grass or skulls to add some extra points of interest.
This process can done on mass and you can change the colours to contract best with your models. A light/warm base contracts nicely with a dark/cold model, I used these with some models with a mainly green theme.
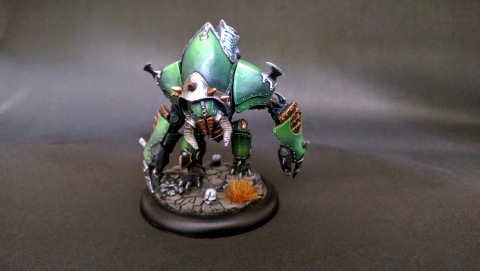

Got the Cryx Warmachine MK3 battlebox and decided on this colour scheme after seeing this scheme from NextLevelPainting. See here is his excellent tutorial video on painting green.
The quality of models was ok, not great. Material was a plastic/resin mix that made it hard remove mold lines and there was a noticeable void on the top carapace of Slayer/Reaper that was hard to even out.
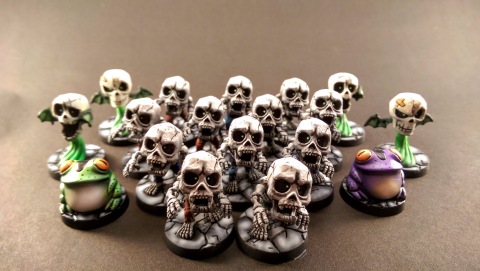

Just a collection of my latest painted Super Dungeon Explore models.

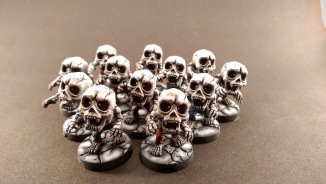
This was my first time doing serious mass painting, 12 models at once. Helped that they nice simple models that could be mainly airbrushed and finished with a oil wash.
Here’s the steps:

After a large break from painting over Christmas I’ve got back to work. Started with something simple, with an easy colour scheme I can’t procrastinate over, chibi frogs!
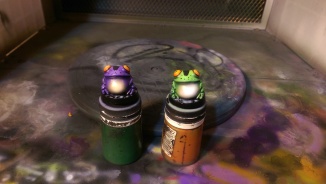
Did these in the couple of hours, mainly airbrushed with a little brush work to shade and base the eyes. Very happy with how the airbrushing the stomachs went, using a brown first, then bone with white highlights. The warm brown and bone contrasts with the cool green/purple well, adding variety.


